Unity Shader #4 Drawing Shapes
- Lingheng Tao

- 2023年11月12日
- 讀畢需時 3 分鐘
已更新:2024年3月12日
这篇文章进行一些基本的 Shader 代码练习,利用 uv 来画一些简单的图形。
这一篇文章主要会使用伪代码,因此在正常的 ShaderLab 文件中可能会无法 compile。具体函数请查阅 Unity 的文档。
基本函数
先了解三个我们会用到的基本的函数方法,step(edge, n), smoothstep(min, max, n) 以及 lerp(a, b, delta)。这三个函数在 Shader 中会大量使用,因此一定要熟练掌握。
Step
函数定义很简单。
int step(float edge, float n) {
    return 1 if edge <= n
    return 0 if edge > n
}
例如
step(1, 2) = 1
step(2, 1) = 0
step(a, b) == (a<=b) ? 1 : 0
简单记忆就是 step 与 <= 的返回值相同(如果将 true = 1, false = 0)。这个函数能给我们一条锐利的边缘,之后就会见到。
Smoothstep
另一个函数是
float smoothstep(float min, float max, float n) {
    return 0 if n <= min
    return 1 if n >= max
    return an interpolated value if min < n < max
}
这个函数本质上是一个将 n ∈ [min, max] Remap 到 [0,1] 上,将其它的 n clamp 到 0 和 1 的函数。在 Shader 中,如果我们希望有一条平滑过度的边缘,就会经常用到 smoothstep()。
Lerp
最后一个函数是
float lerp(float A, float B, float delta) {
    return A if delta <= 0;
    return B if delta >= 1;
    return (1-delta)*A + delta*B if 0 < delta < 1;
}
例如
lerp(-0.4, 0.4, 0) = -0.4
lerp(-0.4, 0.4, 1) = 0.4
lerp(-0.4, 0.4, 0.5) = 0
Lerp 的全称是 Linear Interpolation,所以这个函数做的是根据 delta 的线性插值,所谓的根据 delta 做插值可以认为 delta 是在计算中 B 的权重。
画圆

我们考虑一下圆在 uv 上的意义。
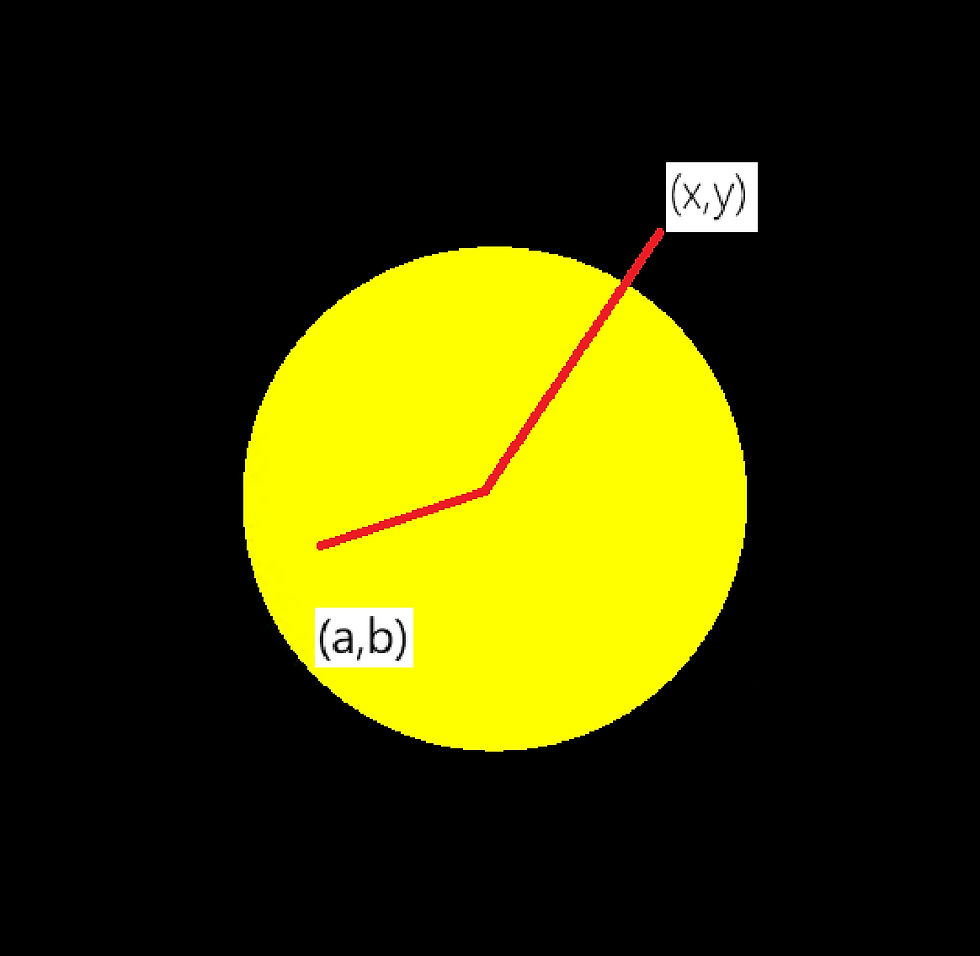
例如,对于下图中的点 (x,y) 它应该在这个圆的外面。对于下图中的点 (a,b) 则应该在圆心内。我们认为圆的圆心在原点 (0,0) 的话,那么二维矢量 (x,y) 的长度就应该大于圆的半径,(a,b) 的长度就应该下于圆的半径。
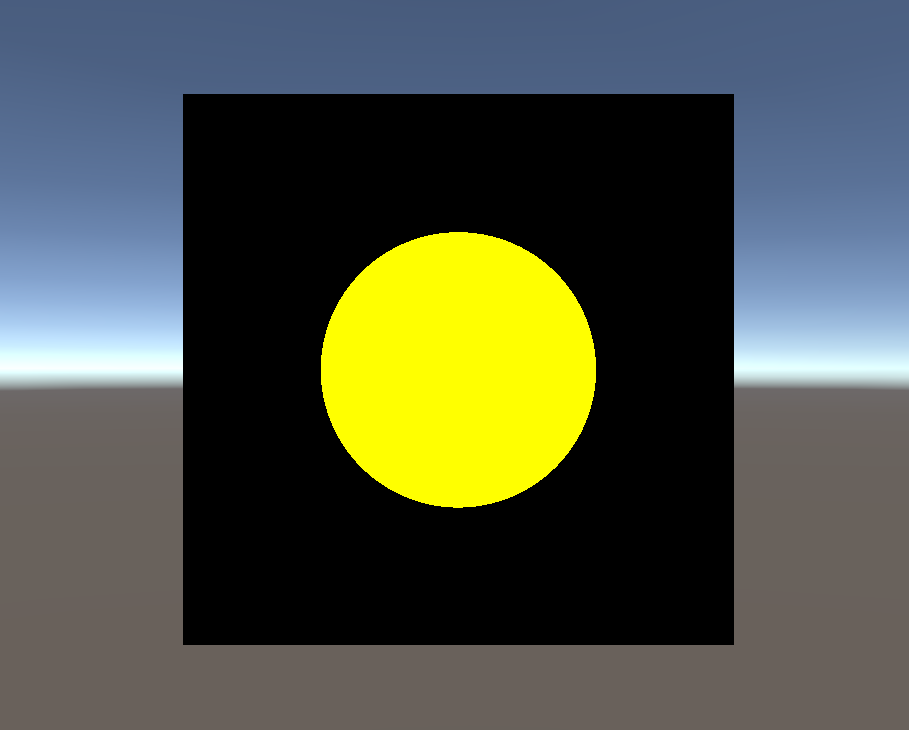
类似地,所有的距离圆心的长度小于圆的半径的点就应该在圆内,我们把它着色成圆的颜色。其它的就着色成黑色,那么就应该会有下面的效果。

因此,我们可以有以下的伪代码。
float r; // Radius of the circle
Color circleColor; // Color of the part inside the circle

foreach point (x,y) on the geometry {
    inCircle = step(length(x,y), r);
    color = inCircle * circleColor;
}
在这里补充一下,如果我们是在 Unity ShaderLab 中写这段代码的话,那我们就会放到片元着色器中去完成。片元着色器是逐像素的,所以不用放在 for 循环中了。回顾一下,片元着色器会对每一个像素执行一次,即使这个像素没有 vert 直接提供的 v2f 结构,它也会在 frag 执行之前做好插值,所以此时每一个像素都有自己对应的 v2f 结构。
目前我们并不在意圆里面画的是什么内容,因此也不需要采样什么纹理。统一填充某一种颜色就行。如上所述,如果在圆里面,我们乘 1.0,如果不在圆里面,我们乘 0.0. 通过这种方式,自然就将处于圆里面的像素填充颜色了。
以下仅在画圆的部分写一下 Unity 中的实际代码,之后的几何就不予赘述了。
// Property
Property {
    _CircleColor("Circle Color", Color) = (1,1,0,1)
}

... OMIT SubShader and Tags etc.

// Define v2f: vertex to fragment
struct v2f {
    float4 vertex : SV_POSITION;
    float4 position : TEXCOORD0;
}

// Define vertex shader
v2f vert (appdata_base v) {
    v2f o;
    // transform the object space vertex position to clip space
    o.vertex = UnityObjectToClipPos(v.vertex);
    // record its object space position
    o.position = v.vertex;
    return o;
}

// Define fragment shader
fixed4 frag (v2f i): SV_Target {
    float inCircle = step(length(i.position.xy), 0.25);
    fixed3 color = _CircleColor * inCircle;
    return fixed4(color, 1.0);
}
我们也发现了,虽然这个看起来这么长一坨,但真正重要的其实也就只有 inCircle 变量的计算。之后的图形中,我们就会只讨论这个判断值。重要的是背后的算法。
画正方形

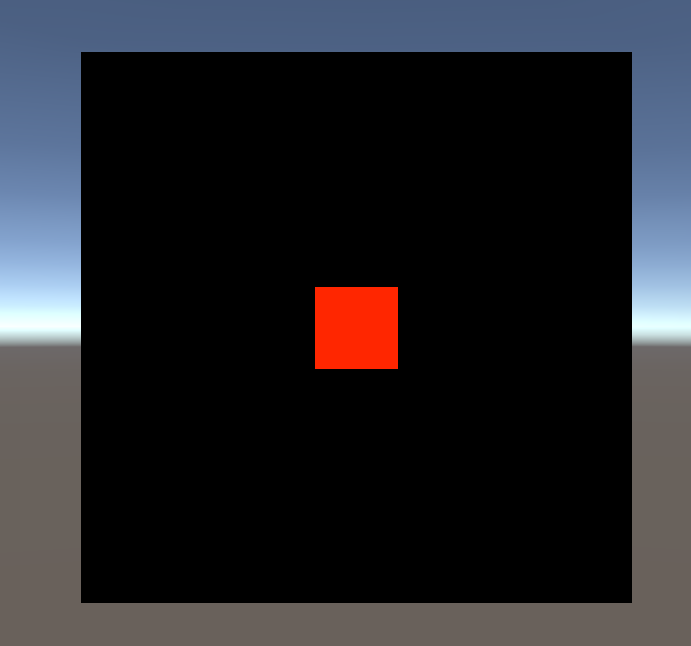
以下是正方形的判断值:
int inSquare (pt, size, center) {
    Vector p = pt - center; // p is pointing from center to pt
    halfsize = size * 0.5;
    // horizontally inside: p.x should appear right to the left boundary and left to the right boundary
    h = step(-halfsize, p.x) - step(halfsize, p.x);
    // vertically inside: p.y should appear down to the top boundary and up to the bottom boundary
    v = step(-halfsize, p.y) - step(halfsize, p.y);

    return h * v;
}


留言