This post covers the use of various dissolve algorithms, material transitions extended from dissolve algorithms, and a simple framework for controlling dissolve in Unity with C# scripts.
The Simplest Basic Dissolve
Any dissolve effect can be divided into three parts:
- Undissolved part: Fully opaque, maintaining the original albedo color.
- Dissolved part: Fully transparent, invisible.
- Dissolve edge: The boundary of the dissolved area, which may glow or be uneven.
Therefore, we follow this logic for the most basic dissolve effect.
Algorithm Overview
- Sample the gradient map. Use a Property to control the actual black/white regions, and use step to determine the undissolved and dissolved parts.
- Identify the edge region. Areas near the dissolve edge have an edge detection value of 1.
- The closer to the edge, the closer the color is to the edge color; otherwise, it approaches the sampled albedo color.
In step one, sample the gradient map and use the gradient map's r channel as the material's alpha channel. To achieve an upward dissolve effect, subtract a variable value _ChangeAmount; since our AlphaGreaterThan is set to 0.5 by default, we set the range of _ChangeAmount to [-1, 1].
Here, the gradient map refers to an image that transitions from black at the bottom to white at the top, as shown below:
Gradient map
Plain Textfixed4 frag (v2f i) : SV_Target
{
    // Sample the gradient map.
    float grad = tex2D(_Gradient, i.uv).r - _ChangeAmount;
    fixed4 col = tex2D(_MainTex, i.uv);
    // Set the alpha channel to the result from sampling grad, but give a fairly clear edge.
    col.a = step(0.5, grad);

    return col;
}
Step two: identify the edge region.
Above, we set fragment visibility through step(0.5, grad). step is binary, so it's either visible or not. Here, col.a is only set to 1 when grad is greater than or equal to 0.5. So 0.5 is effectively the "position" of the edge.
When the difference from 0.5 is within a certain range, it can be considered the edge; otherwise it's treated as non-edge. Obviously, we need an edge variable to handle this. Also, the smaller the difference, the more it should be on the edge, so there should be a OneMinus operation.
We can divide abs(grad - 0.5) by _EdgeWidth; this way, the larger _EdgeWidth is, the smaller the value from abs(grad - 0.5), and the larger the value from 1 - abs(grad - 0.5)/_EdgeWidth, which matches the characteristic that larger _EdgeWidth means a larger edge range.
Finally, we modify the col.rgb obtained from sampling _MainTex so that the closer to the edge, the closer the color is to _EdgeColor; lerp can easily achieve this. We can also add _EdgeIntensity to control the intensity of this edge glow.
Plain Textfixed4 frag (v2f i) : SV_Target
{
    // Sample the gradient map.
    float grad = tex2D(_Gradient, i.uv).r - _ChangeAmount;
    fixed4 col = tex2D(_MainTex, i.uv);
    // Set the alpha channel to the result from sampling grad, but give a fairly clear edge.
    col.a = step(0.5, grad);

    // Determine the edge region
    float edge = clamp(1- abs(grad - 0.5)/_EdgeWidth, 0, 1);

    // The closer to the edge, the closer to the edge color; otherwise the original color, using lerp
    col.rgb = lerp(col.rgb, _EdgeColor.rgb * _EdgeIntensity, edge);
    return col;
}
At this point, the simplest dissolve effect is complete.
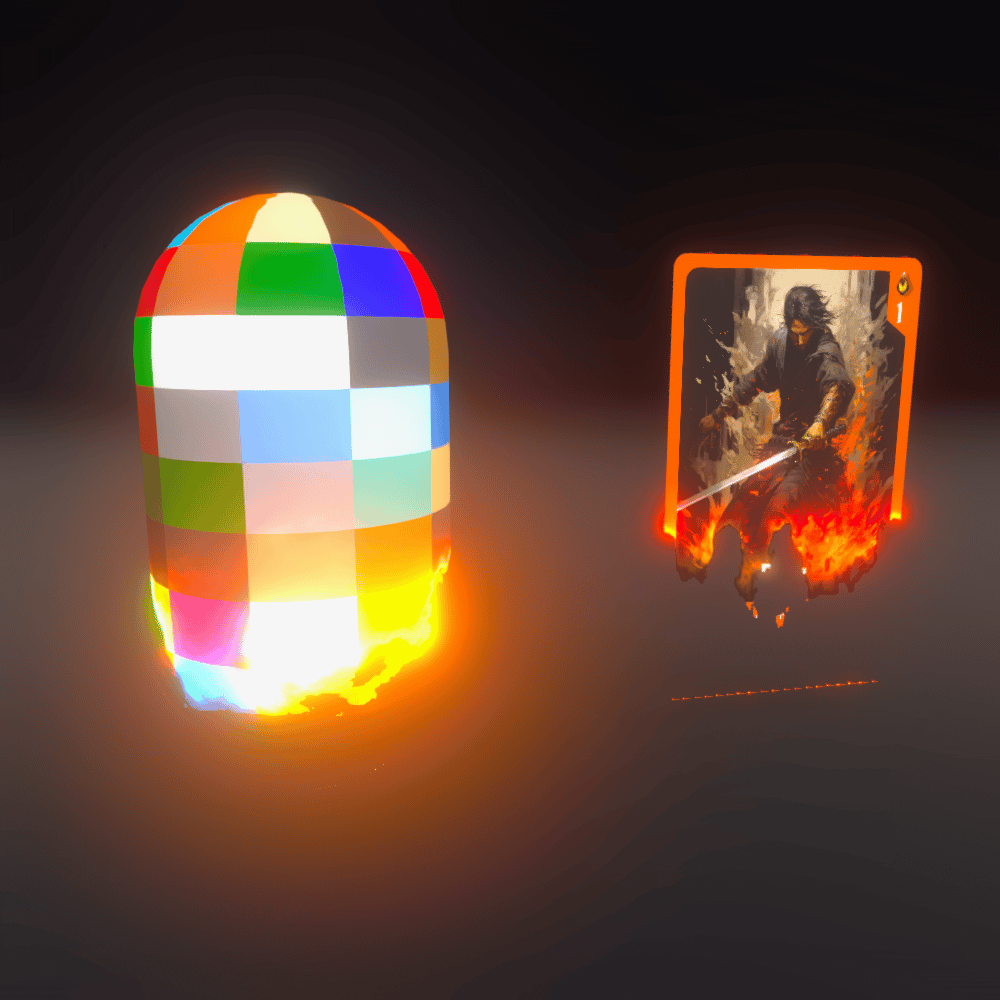
If we replace the gradient map with a noise texture (Noise Texture), we can achieve a more random dissolve.
Noise map
The effect is as follows. The same shader code applies—simply use a noise texture as the _Gradient input instead of a gradient map to achieve a more random dissolve pattern:
Plain Textfixed4 frag (v2f i) : SV_Target
{
    // Sample the gradient/noise map.
    float grad = tex2D(_Gradient, i.uv).r - _ChangeAmount;
    fixed4 col = tex2D(_MainTex, i.uv);
    col.a = step(0.5, grad);

    float edge = clamp(1- abs(grad - 0.5)/_EdgeWidth, 0, 1);
    col.rgb = lerp(col.rgb, _EdgeColor.rgb * _EdgeIntensity, edge);
    return col;
}