This note covers the basic Shader approach for Scanning and Hologram effects. It also briefly introduces some Shader fundamentals.
We will mainly use the Amplify Shader Editor from the Unity Asset Store. It has a node-based interface that is not just similar to UE—it's practically identical. I find it more intuitive than Unity's built-in Shader Graph. (https://assetstore.unity.com/packages/tools/visual-scripting/amplify-shader-editor-68570)
I'll start with a basic URP project and then cover the common approach behind the scanning effect. Create a URP project and set up lighting roughly as shown below. I'm using engine version 2022.3.7f1.
Scanning
Basic Interface
First import Amplify Shader Editor from the Package Manager and install it. Then right-click Create > Amplify Shader to create a new Shader file. For URP, start from Universal Lit.
We'll see an interface like this. It's not just similar to UE—it's identical.
Basic Shortcuts
First, make sure Shader Type is Universal/Lit. We'll change others when needed.
Right-click on empty space to open the Search panel and find all available nodes.
Hold the 1 key and left-click on empty space to create a Float node.
Click the node to see its details in the left panel.
Here:
- Type: Can be set to Property. If it's Property, we can modify the value in the Inspector. Otherwise it's only visible within the Shader.
- Name: Change the variable name. Note: if you rename it to SomeVariable, when using material.SetFloat() in C#, the actual name is _SomeVariable—there's an underscore prefix.
- Min/Max: Changing either turns the value into a slider.
- Default Value: The variable's initial value.
More Basic Shortcuts
Similar to holding 1 and left-clicking to create a Float:
- Hold 2: Create 2D vector (Vector2)
- Hold 3: Create 3D vector
- Hold 4: Create 4D vector
- Hold 5: Create Color (essentially a Vector4)
- Hold T: Create TextureSample node (for textures)
Some commonly used nodes for calculations:
- Hold M: Multiply
- Hold A: Add
- Hold S: Subtract
- Hold D: Divide
- Hold E: Power
- Hold O: One Minus (1-input operation)
That covers the basics of ASE. The rest is applying program logic with the node graph.
Fresnel Rim Light
Let's start by recreating the rim light effect from the previous note in ASE. Get familiar with ASE first.
Recall the rim light calculation. First, the use of NdotV:
- N: The vertex normal vector in world space.
- V: The view direction vector.
Both should be unit vectors. So if the dot product of these two vectors is closer to 0 (i.e., perpendicular), we should see less of that vertex. Therefore, vertices at the object's edge should have the smallest NdotV. The closer to the edge, the closer 1-NdotV should be to 1.
Let's verify this.
First, use the World Normal and View Direction nodes to get N and V. Then use the dot product (dot, or hold the period key to the left of right Shift) to multiply them. Click the small triangle on the dot node to see that NdotV is indeed bright in the center and dark at the edges, matching our analysis.
Then use the One Minus node to invert it.
We already have the edge turning white. But for rigor, we want NdotV to be between 0 and 1, so we use Clamp, then invert.
Almost there. If we want a larger dark center and sharper, more visible edges, we want to make dark values darker. In ASE's color display mode, black is near 0 and white is near 1. What operation makes gray darker—makes a value like 0.x smaller? We can use power.
Applying power to the One Minus result makes only the edge white very prominent. That's a clear rim light.
Finally, to adjust the rim light brightness, we make the near-white light whiter. To push a value like 0.x closer to 1, we multiply by a constant.
Remember to set all constants here as Property so we can adjust them in the Inspector.
We now have 0–1 information about the edge position (the Multiply result in the material—black is 0, white is 1). So if we want the rim light to have color, we just multiply by a color.
The rim light calculation is done. Output it to the main node.
The black parts are transparent and the colored parts are the rim light, so we connect the last Multiply result to the Alpha channel (transparency) and the Emission channel (glow).
Click the icon in the top-left as shown below to save and Compile.
Don't forget to find Surface in the left panel and change it from Opaque to Transparent. In Blend mode, URP's default template has 4 blend modes—try them. We'll use Premultiply.
In Unity, create a new material, set its Shader to our Shader, attach it to an object, and check the result. Looks good.
Back in ASE, find the Fresnel node. It does what we computed with several nodes—edge detection and strength enhancement—so we can use Fresnel directly for rim light from now on.
Add some nodes for more control, e.g., inner and outer colors for a smoother transition and more color options.
【Tip】Select multiple nodes and press C to create a group and add a comment.
The effect looks good. (I have PostProcess so there's Bloom)
Now for the scanning effect.
First we need a scanning texture. This is the texture for each "bar" when the light sweeps down. Use something with a bright center and dark sides, e.g. (https://blog.csdn.net/lsccsl/article/details/118091355)
You can also draw one yourself—it's quick.
Logic
Scanning is essentially moving this texture up and down on the object's UV map, but we want it to move in world space, not object space. So we sample in world space and move it along the y-axis over time.
Nodes
First use these nodes to implement time-based movement. When connected correctly, the image on ScanLightTexture should already be moving along the vertical axis.
The black parts of the texture are opaque and the blue parts are emissive, so black goes to the Alpha channel and blue to the Emission channel. Add this to the previous Rim Light and connect.
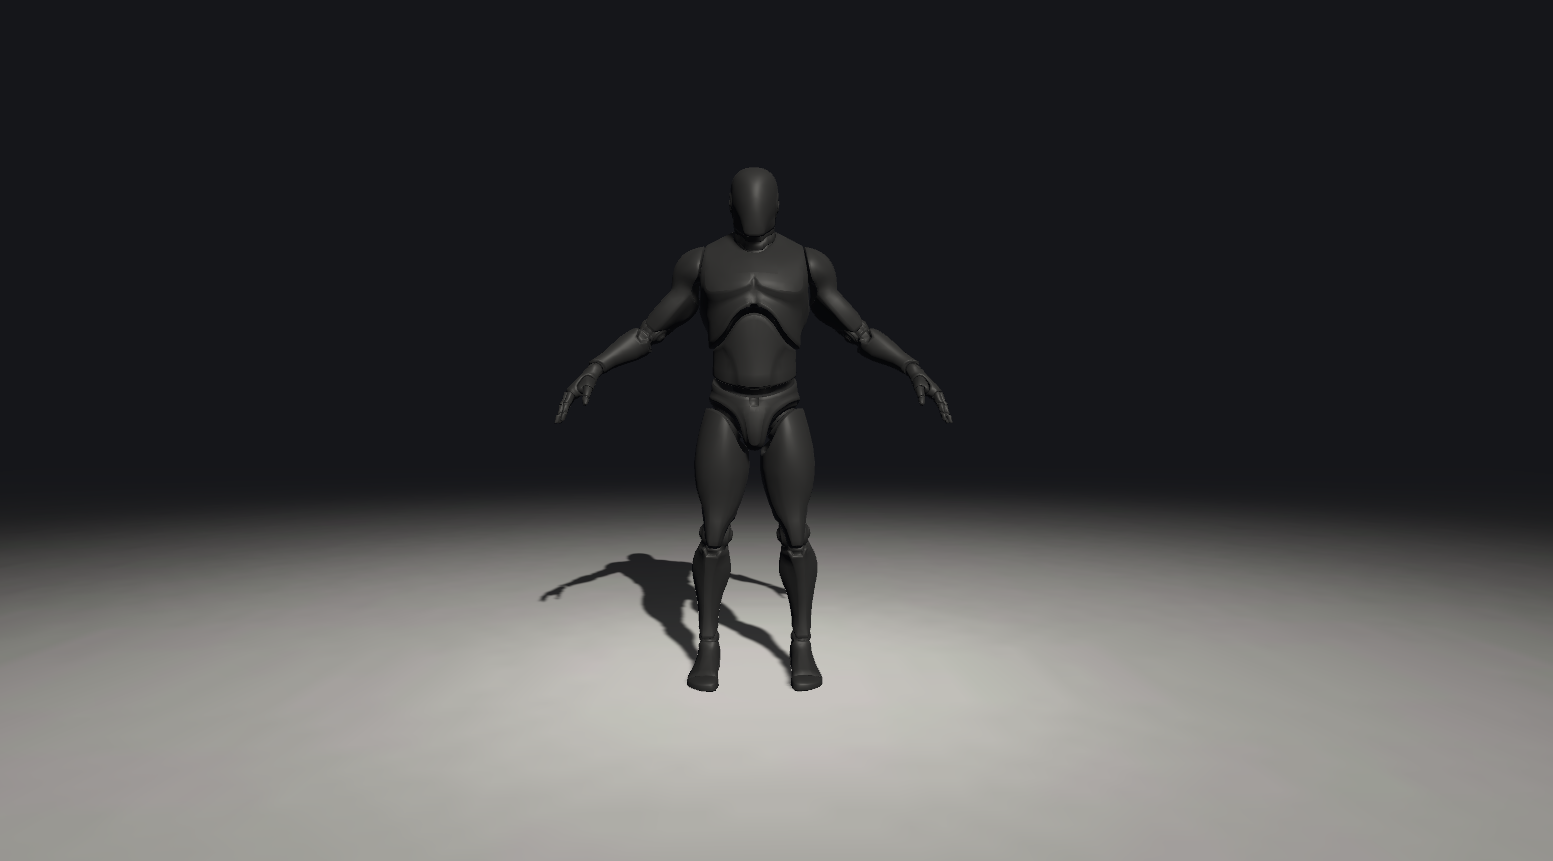
Back to the character.
There is light sweeping across, but the position is wrong and chaotic. This is because sampling is incorrect. We're still using UV coordinates for Texture Coordinates; unless the character has horizontally unwrapped UVs, the scanning texture will wander.
So we need to use world coordinates instead of the Texture Coordinates node.
Use the World Position node with an Append node to get 2D coordinates on the XY plane, then add a 2D velocity to make the scanning texture move on the XY plane.
Now the scan moves correctly up and down on the XY plane.
References:
- GAMES 101, https://www.bilibili.com/video/BV1X7411F744/?spm_id_from=333.337.search-card.all.click
- 【TA入门】CS0103:半透明渲染与纹理动画, https://www.bilibili.com/video/BV1eN41127E4/?spm_id_from=333.999.0.0&vd_source=bb8b9452f6005d9ceb22019ade04d80f
- Computer Graphics (15462), http://15462.courses.cs.cmu.edu/fall2020/