Unity Shader · Part 13 of 13 · March 6, 2022
Unity Shader #13 Post-Processing
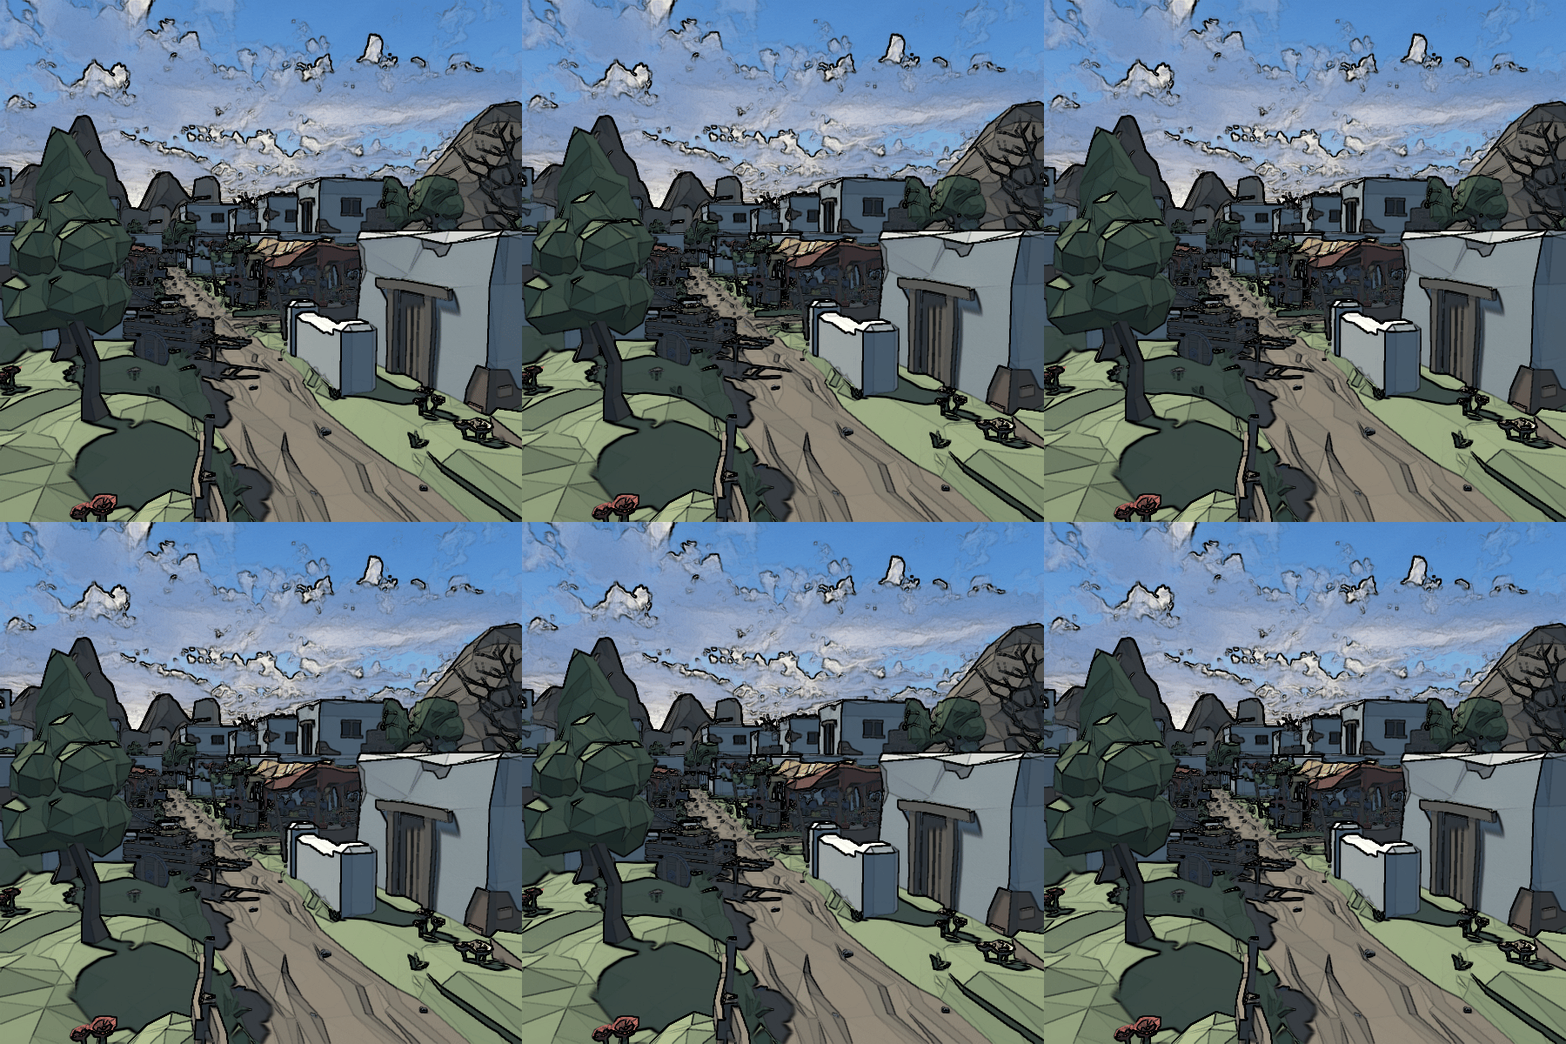
This note covers how screen post-processing is implemented and why it works. The implementations here are built on the OnRenderImage callback, which only exists in the Built-in render pipeline; URP needs different plumbing, but the principles are identical. So we start with Built-in and deal with the pipeline upgrade at the end.
The fullscreen shader
In Built-in, create an Image Effect Shader. These shaders are normally used for fullscreen effects and live under a Hidden/ path, so they cannot be picked directly on a material.
Post-processing rarely needs to do anything interesting with vertices. For the vertex stage we can therefore use the built-in vert_img, and in the fragment stage the matching built-in v2f_img struct instead of writing our own v2f.
HLSLShader "Hidden/PPSomeEffect" {
    Properties { } // some properties omitted
    SubShader {
        Pass {
            CGPROGRAM
            #pragma vertex vert_img
            #pragma fragment frag
            #include "UnityCG.cginc"
            // properties
            fixed4 frag (v2f_img i) : SV_Target { return col; }
            ENDCG
        }
    }
}
Post-processing always modifies a result that has already been rendered, so the first step in the fragment shader is invariably a sample of _MainTex.
HLSLfixed4 frag (v2f_img i) : SV_Target {
    fixed4 col = tex2D(_MainTex, i.uv);
    // some manipulation on col
    return col;
}
Driving it from C#
The shader does nothing on its own. OnRenderImage on a component attached to the camera receives the rendered frame as src and is expected to write the result into dest:
C#[ExecuteInEditMode, RequireComponent(typeof(Camera))]
public class BrightnessEffect : MonoBehaviour
{
    public Shader shader;
    [Range(0f, 3f)] public float brightness = 1f;

    private Material material;

    void OnRenderImage(RenderTexture src, RenderTexture dest)
    {
        if (shader == null || !shader.isSupported) { Graphics.Blit(src, dest); return; }
        if (material == null) material = new Material(shader) { hideFlags = HideFlags.HideAndDontSave };

        material.SetFloat("_Brightness", brightness);
        Graphics.Blit(src, dest, material);
    }
}
Graphics.Blit draws a fullscreen quad into dest, binding src as _MainTex and running our shader over every pixel. Note the fallback: if the shader is unsupported we still have to blit src to dest, otherwise the screen goes black.
Brightness / saturation / contrast
The three simplest effects.
Brightness
By definition, multiply the output RGB by a brightness coefficient.
HLSLfixed3 finalColor = col.rgb * _Brightness;
Saturation
At minimum saturation the colour should approach plain grayscale; at high saturation it should become more vivid.
To desaturate a colour — to turn it grey — use:
HLSLfixed lum = 0.2125 * col.r + 0.7154 * col.g + 0.0721 * col.b;
fixed3 lumColor = fixed3(lum, lum, lum);
The coefficients 0.2125 R, 0.7154 G, 0.0721 B come from an empirical formula: studies show that this ratio produces the grey the eye judges most faithful, because the eye is far more sensitive to green than to blue.
Then interpolate between the grey and the original:
HLSLfixed3 finalColor = lerp(lumColor, col, _Saturation);
Recall how linear interpolation works:
// requires 0 <= delta <= 1
lerp(A, B, delta) = (1 - delta) * A + delta * B
So with _Saturation between 0 and 1, the closer it is to 0 the closer the result is to lumColor — our grayscale image — and the closer it is to 1, the closer to col, the colour we originally sampled. In Unity, lerp also produces a value when delta is greater than 1; I will not work through the arithmetic here, but for saturation you can read it as: higher _Saturation means a more vivid colour, closer to 0 means greyer.
Contrast
At low contrast every colour becomes indistinguishable and collapses towards a uniform grey (0.5, 0.5, 0.5). So contrast is another straightforward interpolation.
HLSLfixed3 avgColor = fixed3(0.5, 0.5, 0.5);
fixed3 finalColor = lerp(avgColor, col, _Contrast);
Edge detection
For edge detection we first need convolution and convolution kernels.
A convolution is fundamentally a weighted sum. Centred on a sample point, it covers a region around it and computes a value according to the weights defined by the convolution kernel. Running one convolution over an image is also called filtering.
For example, in a 3×3 neighbourhood, the value at the centre point P5 under kernel Gy is:
P5 = -1 * P1 + (-2) * P2 + (-1) * P3 + 0 * P4 + 0 * P5 + 0 * P6 + 1 * P7 + 1 * P8 + 1 * P9
   = (P7 - P1) + 2 * (P8 - P2) + (P9 - P3)
If we convolve the image with the kernel defined by Sobel, the values near edges come out high: colour changes sharply around an edge, and that is exactly what this kind of difference measures.
The Sobel kernel comes in two halves, Gx and Gy. Filtering once in x and once in y gives the gradient in both directions.
Every pixel's final colour is therefore influenced by the nine pixels around it (itself included). One point of precision: because this is a fullscreen shader, the _MainTex we receive is a texture holding the pre-post-processing result, so when we compute one pixel we are really sampling texels of _MainTex. Gathering the neighbouring texels still happens in the vertex shader.
To carry all nine texture coordinates through, the v2f struct records not one uv but nine — the coordinates of all nine texels.
HLSLstruct v2f {
    half2 uv[9] : TEXCOORD0;
    float4 pos : SV_POSITION;
};
We then use the built-in _MainTex_TexelSize to find where the texels actually are: _MainTex_TexelSize.x is the horizontal size of one texel and .y the vertical size. Getting the surrounding uvs is easy from there.
HLSLv2f vert (appdata_img v) {
    v2f o;
    o.pos = UnityObjectToClipPos(v.vertex);

    // uv of the current vertex
    half2 uv = v.texcoord;

    // uvs of the surrounding nine texels
    o.uv[0] = uv + _MainTex_TexelSize.xy * half2(-1, -1);
    o.uv[1] = uv + _MainTex_TexelSize.xy * half2( 0, -1);
    o.uv[2] = uv + _MainTex_TexelSize.xy * half2( 1, -1);
    o.uv[3] = uv + _MainTex_TexelSize.xy * half2(-1,  0);
    o.uv[4] = uv + _MainTex_TexelSize.xy * half2( 0,  0);
    o.uv[5] = uv + _MainTex_TexelSize.xy * half2( 1,  0);
    o.uv[6] = uv + _MainTex_TexelSize.xy * half2(-1,  1);
    o.uv[7] = uv + _MainTex_TexelSize.xy * half2( 0,  1);
    o.uv[8] = uv + _MainTex_TexelSize.xy * half2( 1,  1);

    return o;
}
This trick is a useful way of carrying more information through v2f. Only o.uv[4] is the vertex's own position in the texture. We then sample and record the nine points around that texel.
Edge detection is really just a Sobel convolution over the grayscale image, and we already have grayscale from the saturation section.
HLSLfixed luminance(fixed4 color) {
    return 0.2125 * color.r + 0.7154 * color.g + 0.0721 * color.b;
}
Now the Sobel convolution itself.
HLSLhalf Sobel (v2f i) {
    // Sobel kernels
    const half Gx[9] = {-1, 0, 1, -2, 0, 2, -1, 0, 1};
    const half Gy[9] = {-1, -2, -1, 0, 0, 0, 1, 2, 1};

    half texColor;
    half edgeX = 0;
    half edgeY = 0;

    // convolution sum
    for (int j = 0; j < 9; j++) {
        texColor = luminance(tex2D(_MainTex, i.uv[j]));
        edgeX += texColor * Gx[j];
        edgeY += texColor * Gy[j];
    }

    half edge = 1 - abs(edgeX) - abs(edgeY);

    return edge;
}
edge is now close to 0 on an edge and close to 1 elsewhere, so it can be used directly as a mask — lerp between an edge colour and the original image, or between an edge colour and a flat background for a pure line drawing.
Two caveats worth knowing. First, Sobel on luminance cannot see an edge between two different hues of the same brightness; if that matters, run the operator on depth and normals instead of colour. Second, the result is resolution-dependent, because the kernel is defined in texels — the same scene detects thicker lines at lower resolution.
Gaussian blur
Blur is the workhorse of post-processing: bloom, depth of field and soft shadows are all built on top of it.
A Gaussian kernel of radius r is (2r+1)² taps if applied naively. But the 2D Gaussian is separable — it can be written as the product of two 1D Gaussians — so a horizontal pass followed by a vertical pass gives the same result in 2(2r+1) taps. At radius 3 that is 49 samples versus 14.
So the shader has two passes sharing one fragment function, differing only in the direction of the offsets:
HLSLhalf4 frag (v2f i) : SV_Target {
    float weight[3] = {0.4026, 0.2442, 0.0545};   // normalized 5-tap Gaussian

    fixed3 sum = tex2D(_MainTex, i.uv[0]).rgb * weight[0];
    for (int it = 1; it < 3; it++) {
        sum += tex2D(_MainTex, i.uv[it * 2 - 1]).rgb * weight[it];
        sum += tex2D(_MainTex, i.uv[it * 2    ]).rgb * weight[it];
    }
    return fixed4(sum, 1.0);
}
and on the C# side, ping-pong between two temporary render textures:
C#void OnRenderImage(RenderTexture src, RenderTexture dest)
{
    int rtW = src.width / downSample;
    int rtH = src.height / downSample;

    RenderTexture buffer0 = RenderTexture.GetTemporary(rtW, rtH, 0);
    buffer0.filterMode = FilterMode.Bilinear;
    Graphics.Blit(src, buffer0);

    for (int i = 0; i < iterations; i++)
    {
        material.SetFloat("_BlurSize", 1.0f + i * blurSpread);

        RenderTexture buffer1 = RenderTexture.GetTemporary(rtW, rtH, 0);
        Graphics.Blit(buffer0, buffer1, material, 0);   // horizontal
        RenderTexture.ReleaseTemporary(buffer0);

        buffer0 = RenderTexture.GetTemporary(rtW, rtH, 0);
        Graphics.Blit(buffer1, buffer0, material, 1);   // vertical
        RenderTexture.ReleaseTemporary(buffer1);
    }

    Graphics.Blit(buffer0, dest);
    RenderTexture.ReleaseTemporary(buffer0);
}
Two cheap tricks are doing most of the work here. downSample renders the blur at a fraction of the screen resolution — a blur is low-frequency by definition, so the loss is invisible while the cost drops quadratically. And bilinear filtering means each tap already averages four texels for free, which is why a 5-tap kernel looks much wider than five pixels.
Always pair GetTemporary with ReleaseTemporary. Forgetting is one of the classic ways to leak VRAM in an editor session.
Bloom
Bloom is three steps: extract the bright parts, blur them, add them back.
HLSL// pass 0: bright pass
fixed4 fragExtractBright(v2f_img i) : SV_Target {
    fixed4 c = tex2D(_MainTex, i.uv);
    fixed  val = clamp(luminance(c) - _LuminanceThreshold, 0.0, 1.0);
    return c * val;
}

// pass 3: composite, with the blurred bright pass in _Bloom
fixed4 fragBloom(v2fBloom i) : SV_Target {
    return tex2D(_MainTex, i.uv.xy) + tex2D(_Bloom, i.uv.zw);
}
The threshold subtraction rather than a hard step matters: it makes pixels fade into the bloom as they brighten, instead of popping in, which would flicker badly in motion.
One note about colour space. In gamma space, thresholding on a value above 1 is impossible because everything is clamped, so bloom becomes a stylistic effect driven by a threshold below 1. In linear space with an HDR camera target, values genuinely exceed 1 and you can threshold at 1.0 for something physically motivated. The same shader produces noticeably different results in the two setups — if bloom looks wrong, check the colour space before you touch the parameters.
Moving to URP
OnRenderImage does not exist in URP, and Graphics.Blit inside a Scriptable Render Pipeline misbehaves (it ignores the current camera target and breaks XR). The equivalent is a Renderer Feature plus a Render Pass:
C#public class PostProcessFeature : ScriptableRendererFeature
{
    class Pass : ScriptableRenderPass
    {
        private Material material;
        private RTHandle temp;

        public override void Execute(ScriptableRenderContext context, ref RenderingData data)
        {
            CommandBuffer cmd = CommandBufferPool.Get("Custom Post");
            RTHandle source = data.cameraData.renderer.cameraColorTargetHandle;

            Blitter.BlitCameraTexture(cmd, source, temp, material, 0);
            Blitter.BlitCameraTexture(cmd, temp, source);

            context.ExecuteCommandBuffer(cmd);
            CommandBufferPool.Release(cmd);
        }
    }

    public override void AddRenderPasses(ScriptableRenderer renderer, ref RenderingData data)
        => renderer.EnqueuePass(pass);
}
Four things change in practice:
Graphics.BlitbecomesBlitter.BlitCameraTexture, andRenderTexturebecomesRTHandle.- You cannot read and write the same target in one pass, so the ping-pong through a temporary is mandatory, not an optimization.
renderPassEventdecides where in the frame the effect runs — before or after transparents, before or after the built-in post stack.- The shader itself moves to HLSL and URP includes, exactly as described in Unity Shader #3 URP Upgrade.
vert_img/v2f_imgbecome theFullscreenVerthelper inBlit.hlsl.
The maths above does not change at all. Only the plumbing does — which is the recurring theme of moving anything from Built-in to URP.